Creating a Google API Key
Follow these steps to create a Google Calendar API key, client ID, and client secret for integrating with Google Calendar.
Step 1: Set up your Google Cloud project
- Go to the Google Cloud Console: Google Cloud Console
- Create a new project:
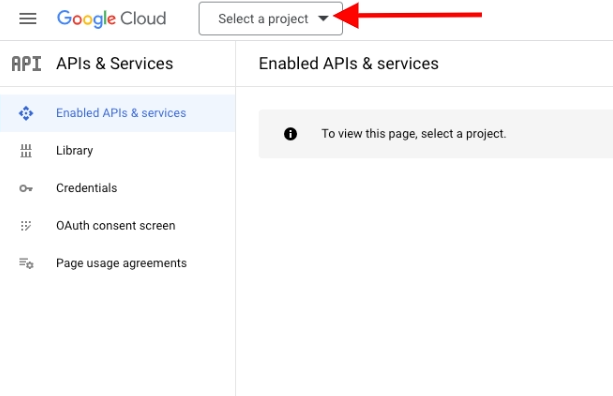
- Click on the project dropdown at the top.
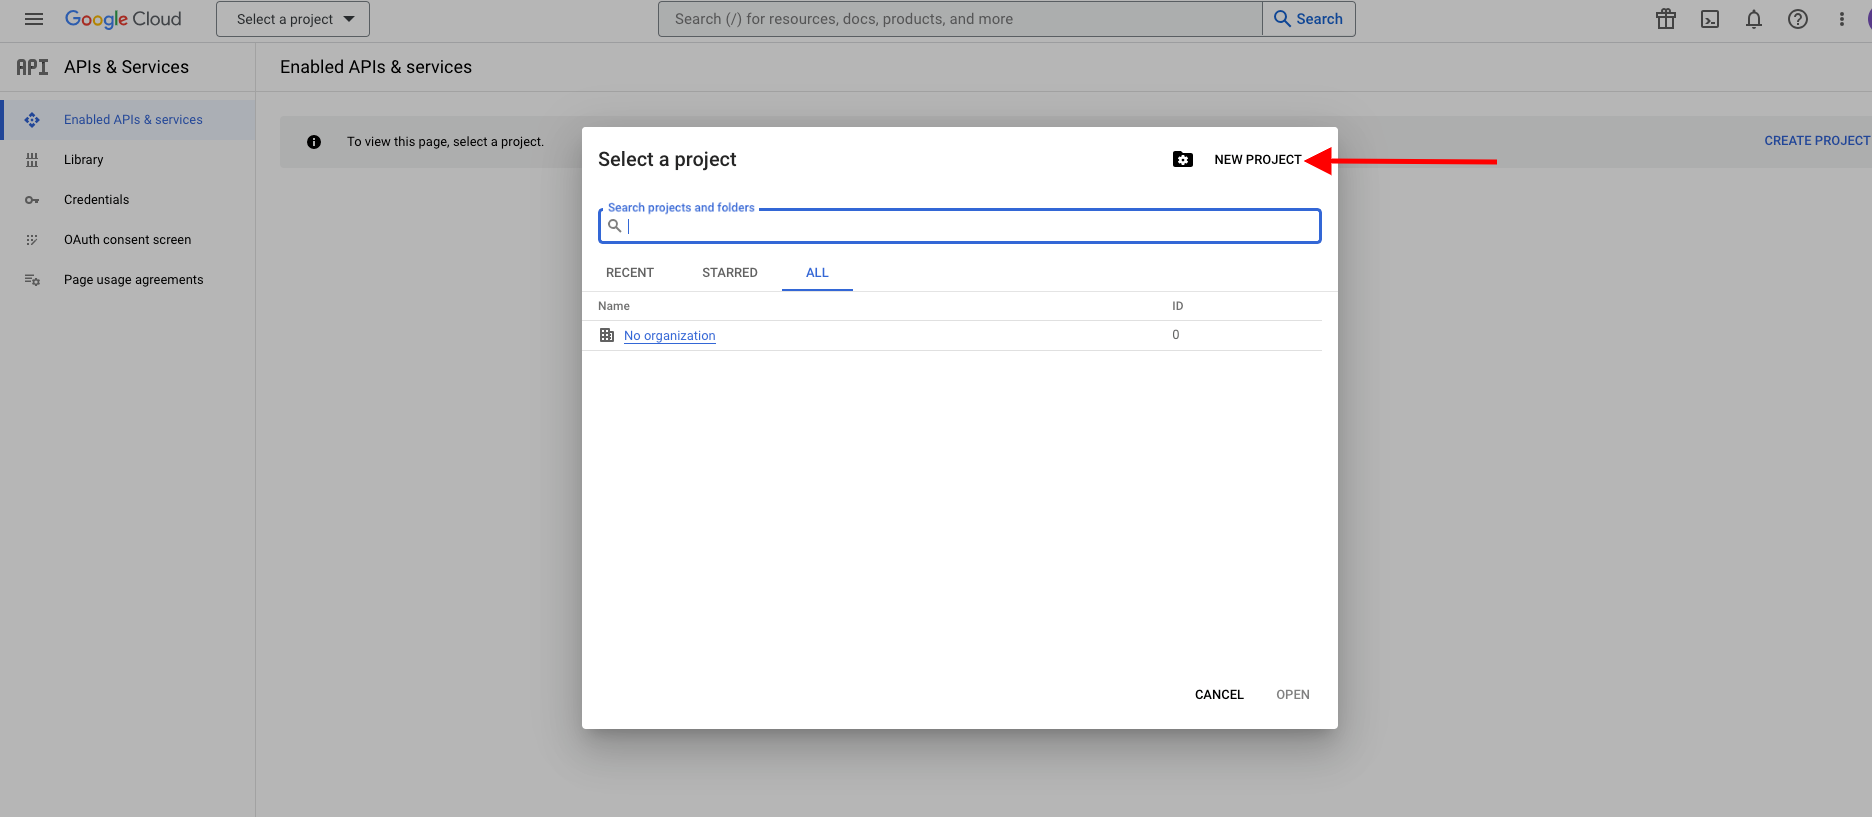
- Click on "New Project."
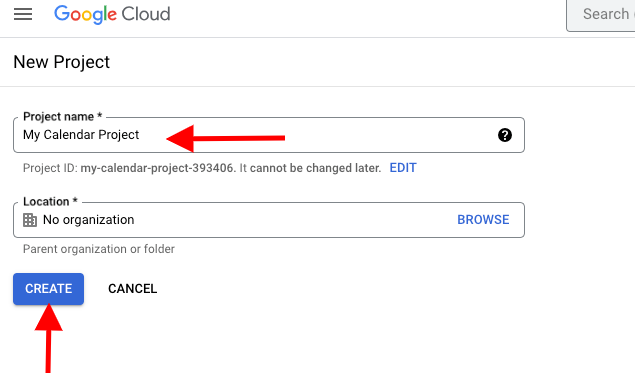
- Enter a name for your project and click "Create."
Step 2: Enable the Google Calendar API
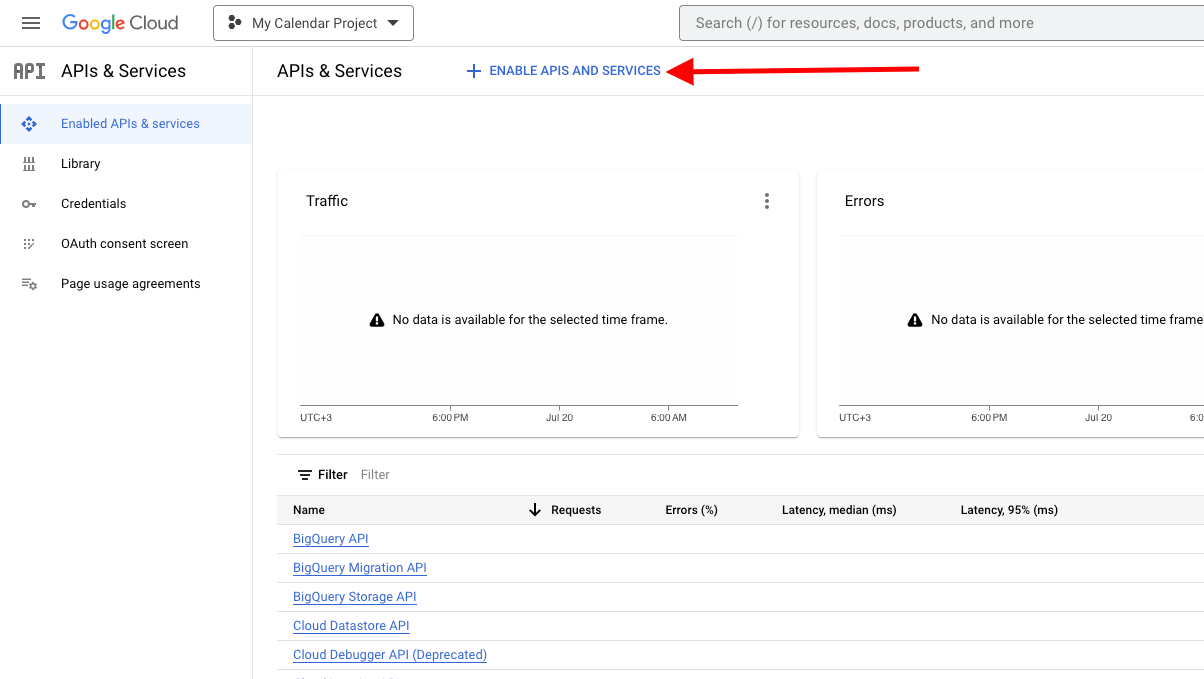
- Enable APIs and Services:
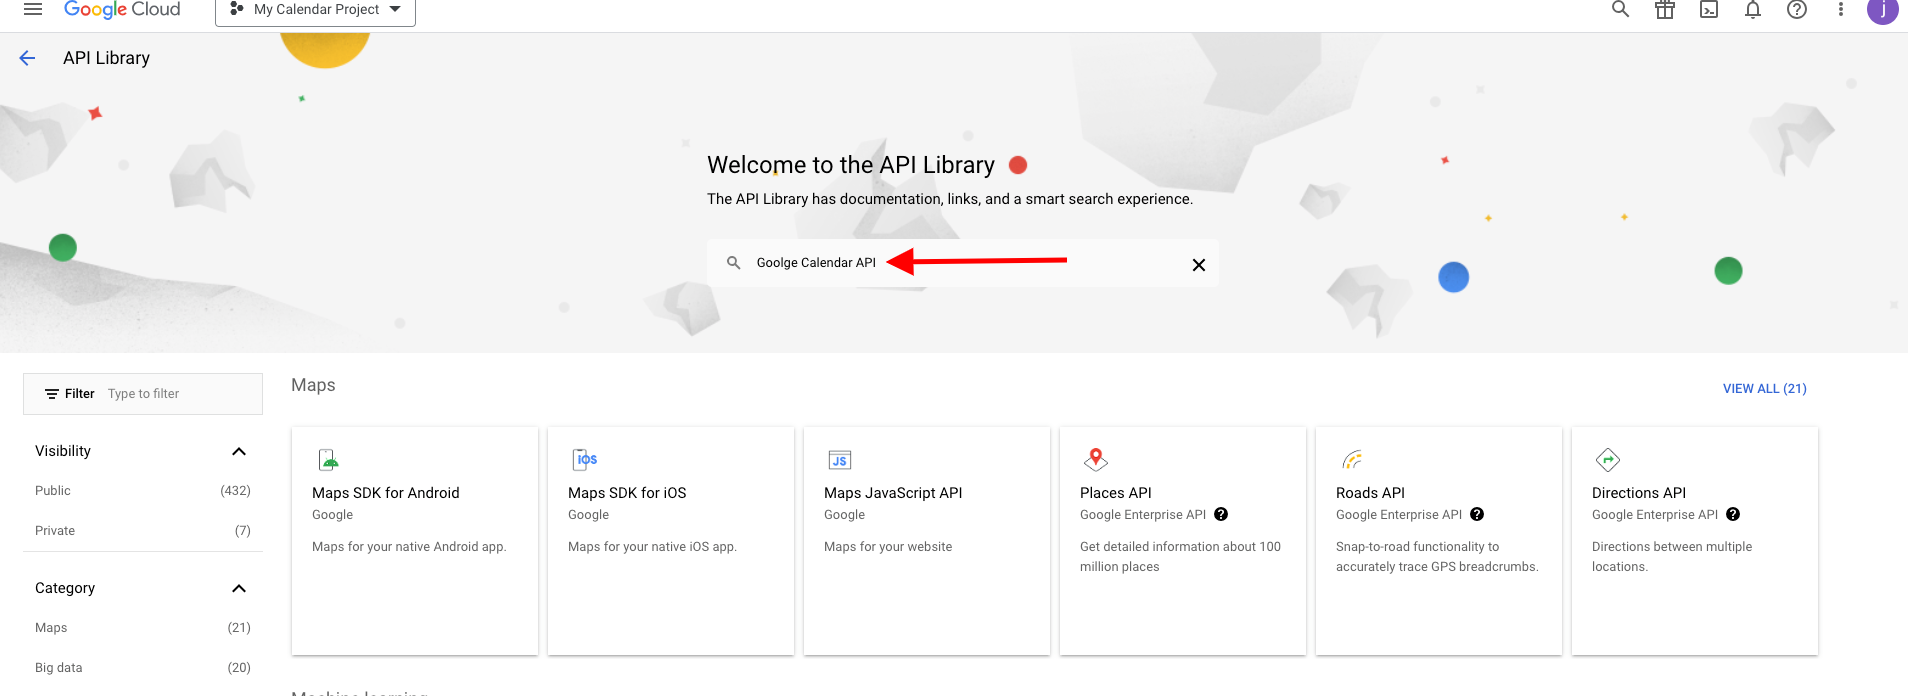
- In the Google Cloud Console, go to the navigation menu and select "APIs & Services" > "Library."
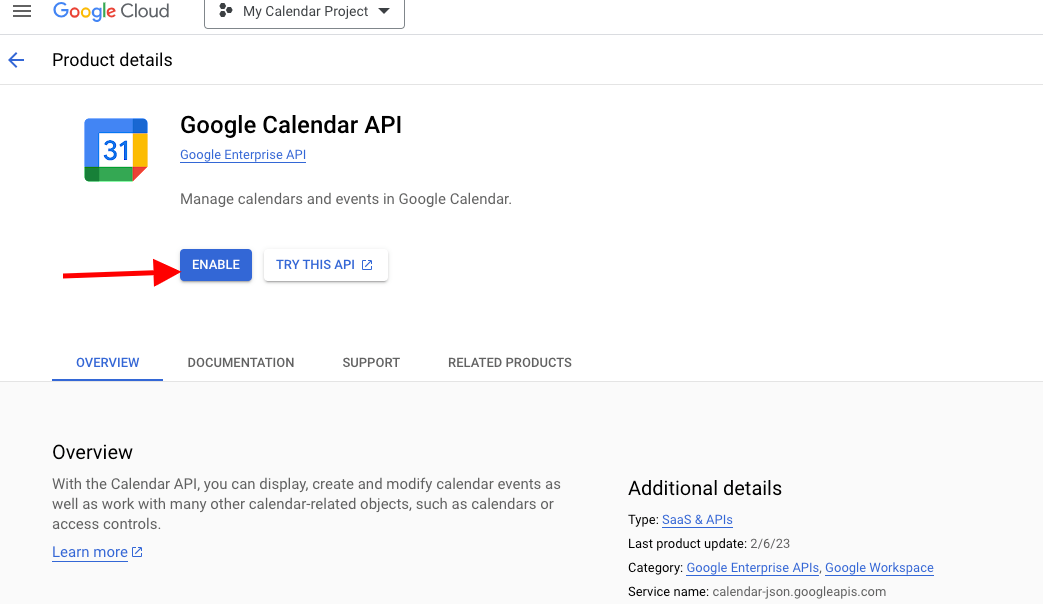
- Search for "Google Calendar API" and click on it.
- Click the "Enable" button.
Step 3: Set up OAuth consent screen
- Configure the OAuth consent screen:
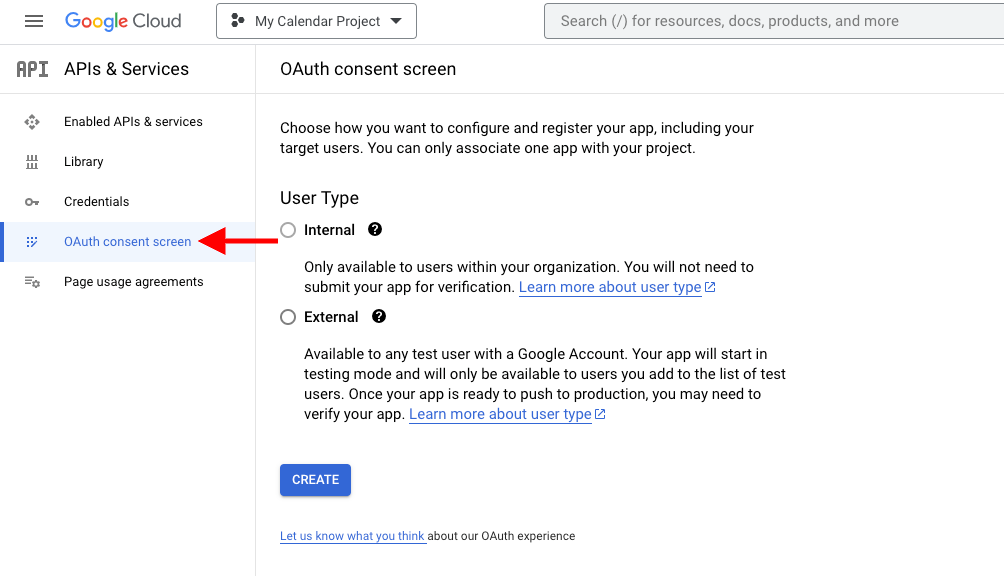
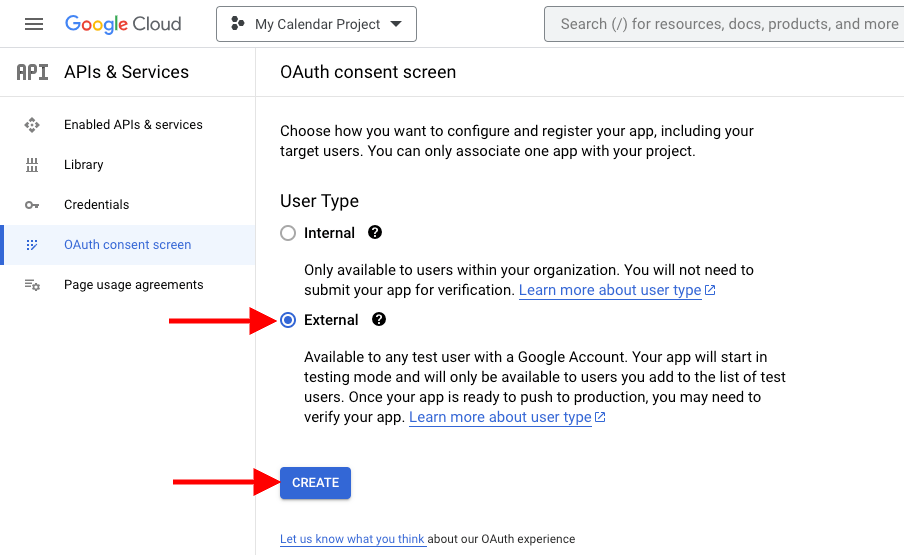
- Go to "APIs & Services" > "OAuth consent screen."
- Select "External" or "Internal" (usually "External" for most apps).
- Fill in the required information such as App name, User support email, and Developer contact information.
- Click "Save and Continue."
- Add the necessary scopes (you can add the Google Calendar API scopes here) and save.
Step 4: Create OAuth 2.0 credentials
- Create credentials:
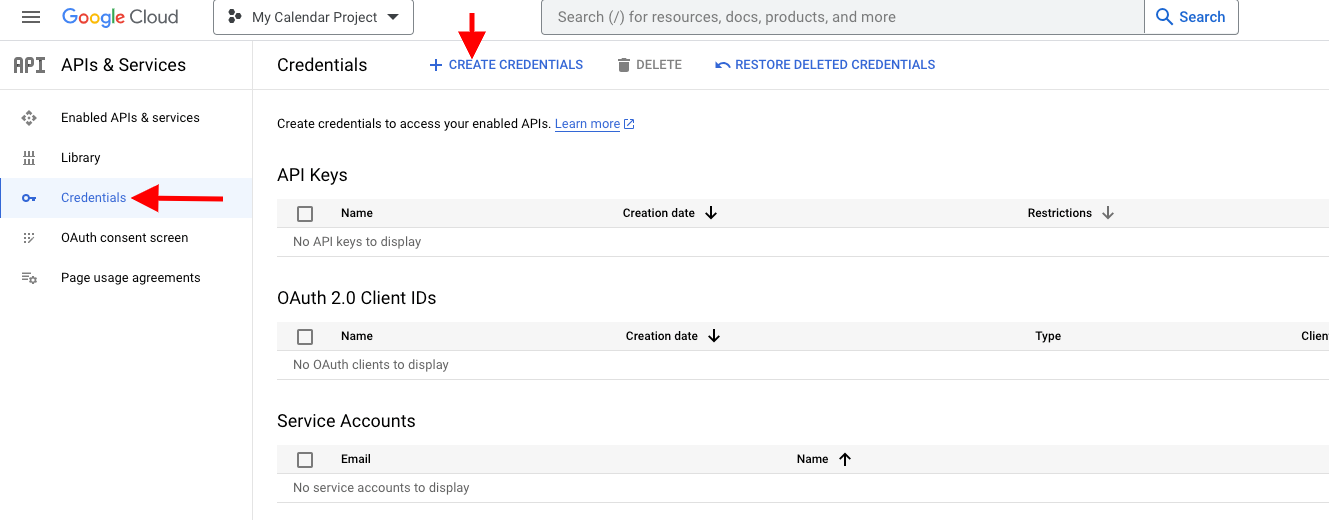
- Go to "APIs & Services" > "Credentials."
- Click on "Create Credentials" and select "OAuth 2.0 Client IDs."
- Configure the OAuth consent screen if you haven't already.
- Select "Web application" as the application type.
- Add your authorized redirect URIs. These are the URLs where Google will send responses after user authorization. For example:
http://localhost:8080/for local development. - Click "Create."
- Save your client ID and client secret:
- After creating, you will see a dialog with your Client ID and Client Secret. Copy these values and save them securely as you'll need them for your application.
By following these steps, you will have set up the necessary credentials for integrating your application with Google Calendar using the Google Calendar API. If you encounter any issues, refer to the Google Calendar API documentation for more details and troubleshooting tips.